
Aug21
Art is where you make it!
As we move away from retail selling and further toward programs and classes, I find myself constantly trying to update my website, my ebay store, my listings on various sites and so on. It’s been daunting to say the least! I just didn’t realize how exposed we are online as a company (and how much more so as an individual!). “Exposed” is the right word, too, not “available”, not “visible”, but exposed.
I mulled all this over as I considered the high profile names and events in online “stories” exposed this past year or so. The timing couldn’t have been better when I saw this pic shared by a friend and it truly resonated. At first, a cute funny that I then shared to my personal FB timeline, giggling about my age as I approach my birthday in a couple of weeks. But after some consideration I decided: I am eternally grateful that, being over 40, I did my most stupid stuff before the internet!

Naturally, all this has got me thinking (panicking, really) about just how available I’ve made myself and my family online. “I’m nowhere near as available online as others!” I justified. It was that thought that lead to a plethora of concerns and anxiety about online safety. The idea that anyone in the entire world can see what I post, no matter how careful I am not to call any of the kids by their “real” name, not to mention where we are and so on was overwhelming. I did what the lady in the pic did and sipped a coffee to calm my nerves.
In the end, I’ve decided that with billions of other fish in the online sea, I am still one of the least interesting people, therefore, I am still relatively anonymous and, therefore, “safe” enough.
What do you think; how exposed are you online?
Until next time: Inspire…Imagine…Invent!
Sewing week at camp is a frenzy of fabric and notions. Kids learn how to sew with a machine and (hopefully) come away with these skills proven by their finished pieces. This year, all of our campers have previous class experience with me, so we were able to skip over a lot of “how-to” and skip right to the projects. In addition to some adorable doll accessories and clothes, we made a stuffed animal monster, a sock monkey and this sweet hobo bag. 

 I’m not sure whether ir’s a good or bad thing, but I rarely use a pattern. In this case, I made a pattern on a roll of easel paper so the kids would gave something to go by!I measured each child to ensure the strap would be right for them and we adjusted the pattern in the strap to meet the length requirement. To do your own, start by drawing the body of the sack, and swoop up into a strap. When cut out, ours looked lik this:
 We made ours reversible, so that meant we needed a total of 4 pieces. To make it reversible, you will cut 2 pieces each from 2 different fabrics for a total of 4. Once you’ve got your pieces cut out, youre ready to sew. Start with one each of the two different fabrics. Pin them with right sides together. Sew from the top right side of the handle and sew all the way around the bag to the top left side of the handle. Finish off and cut threads. Next turn the sewn side back to right side out by pulling it through the opening you left across the top of the handle. Repeat this on the other two cut out pieces. We’re almost done! It’s really this simple. Now, you will decide which side you’ll wear “out” most often and pin the two halves together with the “right” sides together. Using a narrow zig-zag stitch, start sewing from the top right corner of the sack down the body of he sack and up to the corner on the other side. I recommend using the esge of your pressure foot for a guide on this part. Now we finish the project by joinjng the front and back strap. Slide the front strap inside the back strap. If you want, use a pin to hold that in place so you can fold the edge of the back strap inside itself with the front strap still inside. I like to iron this so it’s a nice crisp joint. Sew along the esge of the outer (back) strap so it holds the inner (front) strap securely. For added strength, I go over that seam twice using a zig zag stitch. I also feel for the inside strap and sew along the edge of that twice. This extra step will give your bag strength. Ta-da!! You’re done!Until next time: Inspire….Imagine….Invent!

At our weekly reading club, we found that the festive-ness of the week had us unfocused and not ready to actually read! So when we ventured in to our nook and found the leftovers of this great craft, we were compelled to abandon Ramona and Beezus for some from creative freedom.
Using 1 1/2 paper plates, we positioned them face to face and hole punched the two evenly around the half plate. Using yarn, we wove through the punched holes to hold the plates together to form a pocket. Leave the yarn ends long so that you can tie them at the top for a hanger. Then, using cutouts and stickers and “stuff” we decorated our mailboxes.

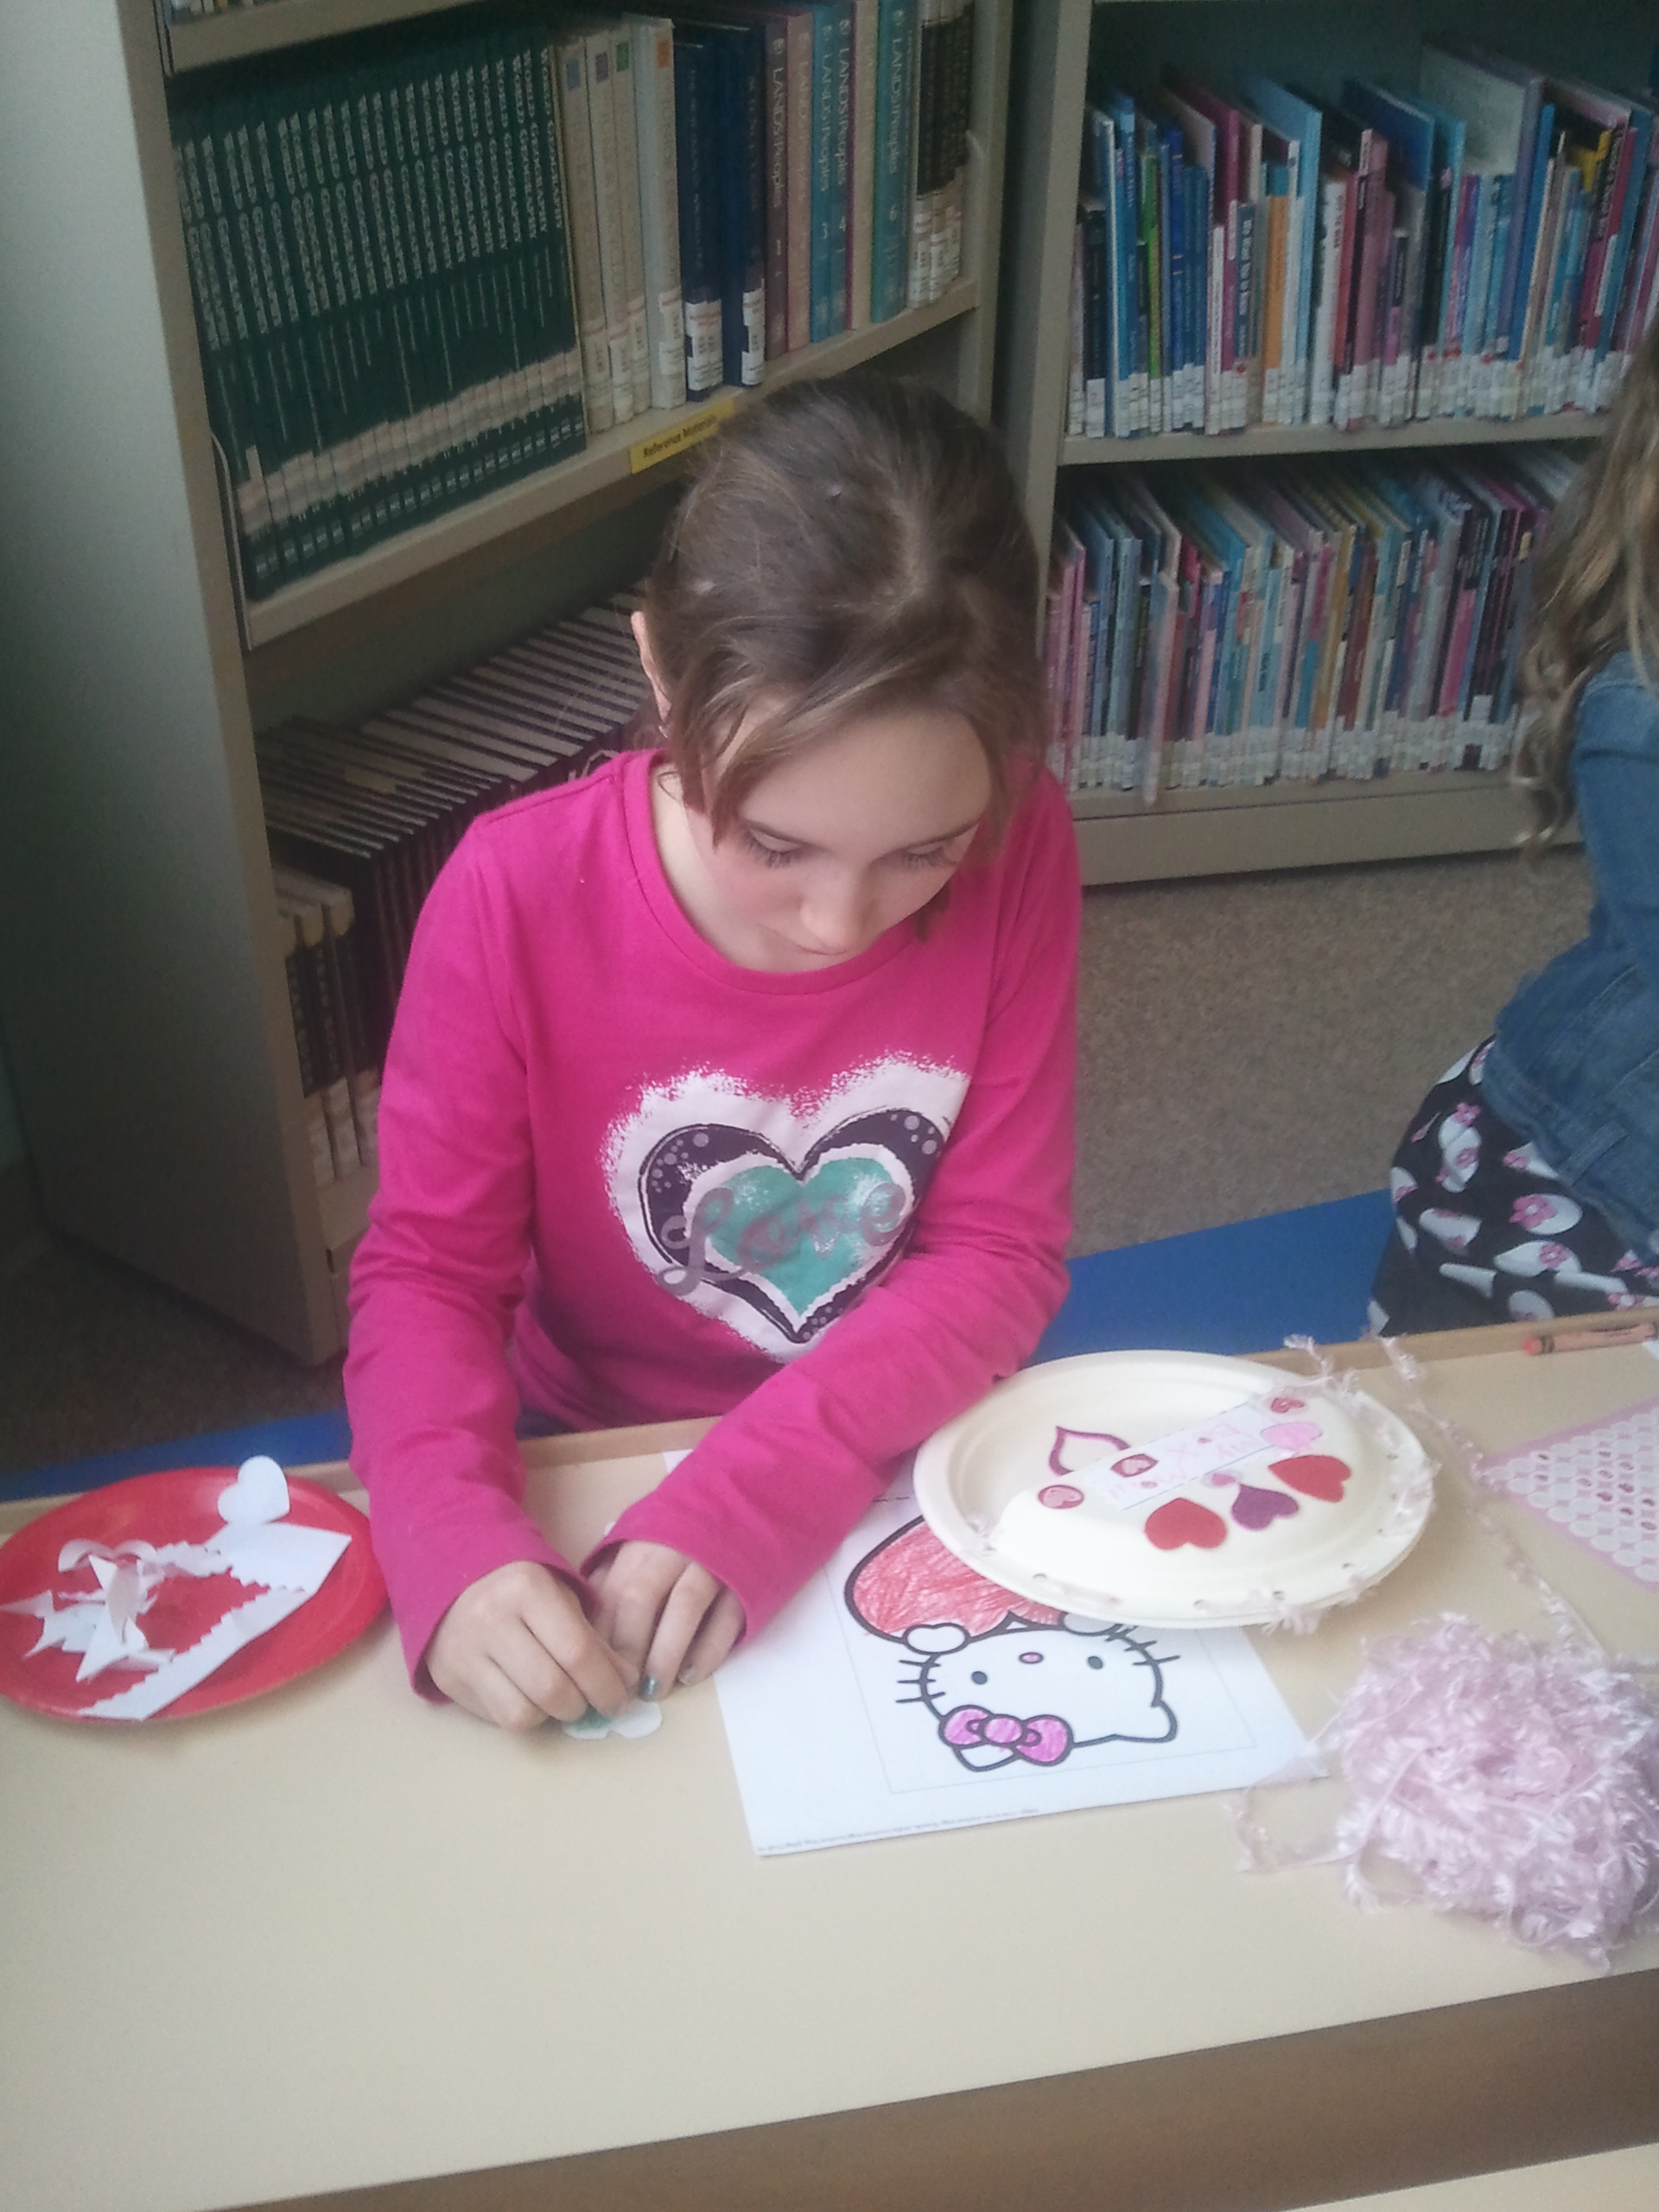


Fun, easy and inexpensive!
Until next time: Inspire….Imagine….Invent!
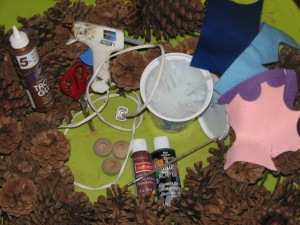
 Today we made pine cone gnomes. I have this pine cone wreath that has seen better days and a collection of wooden balls I bought super cheap that I’ve been wanting to use. This cute little craft will require a dash of creativity, a little bit of time and use both of these supplies!
The kids will enjoy playing make believe with these or playing little pranks on their family and they really were quite simple to put together. This morning, I sprayed our pine cones with a glitter spray I had left over from another project. I just like the pizzazz glitter adds and found that when I tried to sprinkle regular glitter on the pine cone, it wouldn’t stick, disappeared into the pine cone or just clumped on glue … not a look I care for.
You’ll need:
hot glue & tacky glue, a wooden ball for each gnome (ours were .5 inches approximately), coloured felt scraps, pipe cleaner, folk art paint, pine cone(s), scissors, needle and thread (or embroidery needle & floss).
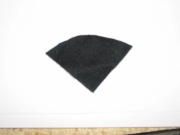
First we cut the felt to make a cone hat and sewed the two straight edges together to form the hat. Our kids find using embroidery floss and needles a little easier than regular needle & thread, but either is fine. If you are doing this with a younger child, you could even glue the felt, but need to allow it sufficient time to dry.
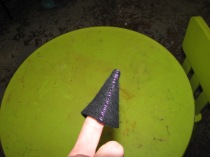
Then we used hot glue (or you could use tacky glue) to attach the hat to the wooden ball head.
Next we cut out a small, narrow heart shape to use as feet and two little mitten shapes for hands. If you have a narrow heart punch or die, it would be perfect for this job. We also cut a pipe cleaner in half and attached a mitten cutout to each end (with hot glue for drying time’s sake) and then put all the cutouts to the side.
We trimmed the bottom of our pine cone a bit to ensure it would sit flat. I did this part because it involved an exacto knife and I prefer the kids don’t handle the blades. A suggestion from the original tutorial was to use a piece of cardboard as a shim to make a smooth bottom. We didn’t find we needed to do that once we added a cutout of felt for feet, which we hot glued onto the bottom of the pine cone.
Then, we wrapped the pipe cleaner through the pine cone “branches” near the top and used a dab of glue at the back to secure it. We glued the wooden ball head (with hat already glued on) onto the top of the pine cone.
Lastly, we used fine paint brushes and folk art paint to add facial details. You could also use markers or pencil crayons to add these details too, but we’re a group who love to use paint!
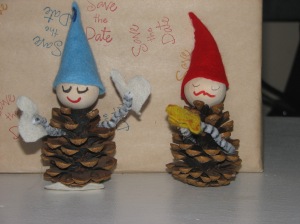

Cute right? In the spring time, I’m going to place a few in the gardens around our house, but these could also make a nice gift topper or even a Christmas ornament. What do you think?
Until next time: Inspire…Imagine…Invent!
I’ve traveled the virtual world far and wide and discovered there are as many poor ideas as great ones. Sometimes, a google search is time-consuming so today, I thought I’d share some of my personal favourites!
We do a lot of crafts….a LOT! Not all of them are worth blogging about but between after school club, summer and PA day camps, weekly workshops, preschool story time, birthday parties and even just because, it’s a challenge to come up with so many fresh, good ideas on a regular basis.
I am tasked with creating a weekly schedule of activities that allow an up or down adjustment for varying skill sets, use specific materials or fit our weekly themes as well as meet each program’s time constraints. Our programs use anywhere from 6 to 18 new ideas per week! Daunting, to say the least.
I would love to take credit for being the brain child of all of the ideas we use, but the truth is, as crafty and creative as I am, I don’t have an endless wellspring of ideas! I’ve relied on the kindness of strangers (via the world wide web) to help me build a successful, program-based business that inspires creativity and so, our blog is designed as a kind of “pay-it-forward” tribute to all those who’ve helped make it possible. My thanks to all those who have contributed to our village!
“Creativity is inventing, experimenting, growing, taking risks, breaking rules, making mistakes, and having fun. ” (Mary Lou Cook)
 |
| WAGGS (Stock photo) |
 |
 |
| Imagine! |
the Road to Deliciousness Starts Here
because all writers are magpies at heart...
Just a mom of 4, daughter, wife and now mom of twins
Myself through Writing; Verbally Silenced, Scriptly Loud.
Observations and random thoughts from a "not so teenager."
Strategies, Skills, and Resources for Living Better with Hearing Loss
Creating Winning Media Solutions in a Fragemented World
LIVE! Every Wednesday @ 8pm Eastern / 7pm Central on StrangeLabel.com
Life goes on.
